Saturday, January 28, 2012

Drywall Install - Part 2: Bathroom, Closets, and Powder room

After our work last Friday on the ceiling room in the family room we spent Saturday and Sunday working on rest of the drywall.  Drywalling the walls was much easier and faster than the ceiling. 

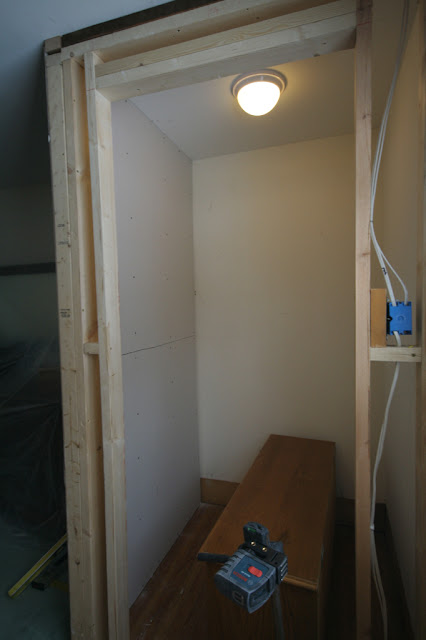
Here are the closets -- finally closed in.


Then we moved to the only ceiling we had left to do -- the powder room.


While Andy was working on attaching the powder room ceiling I started removing the drywall around the old closet door in the master bedroom.  We could have just added a piece that fit the opening of the old door, but we preferred to add a new piece and reduce the number of joints.

Kodak was very interested in what was going on in the garage.

Then we moved into the master bathroom to hang as many full sheets as possible.

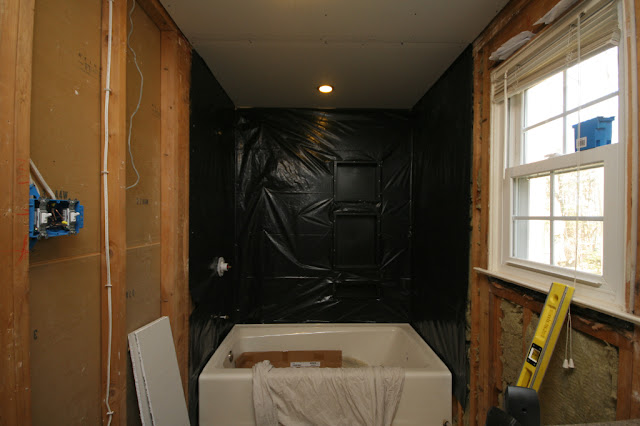
The view looking from the new bathroom closet down to the new tub.

The view from the tub to the new closet.

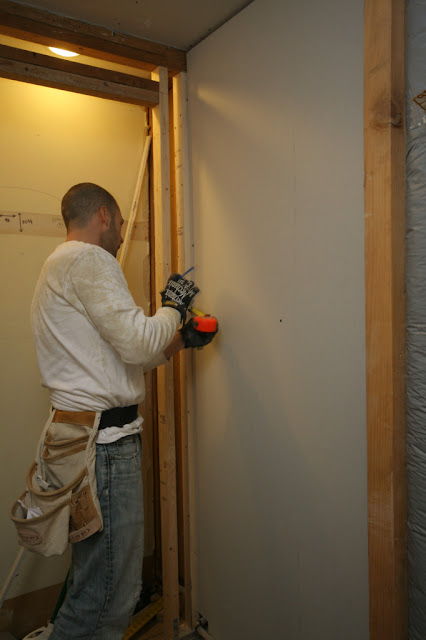
Andy used his fancy dremel tool to cut out the drywall for the new lights.


And when the weekend was finally over he showed me these gloves and asked if I thought he needed some new ones.


Monday, January 23, 2012

Drywall Install - Part 1: Family Room Ceiling

On Thursday our garage looked like this.  12' sheets of drywall for the family room ceiling to minimize the number of joints and 8' sheets for the walls in the bathroom and the new closets.

 
My parents came down on Friday and we started hanging the panels in the family room bright and early.  Once we figured out the logistics of getting the large sheets in the house and lined up we used a drywall lift to raise the panel in place and then it took all four of us to get the position correct so that my dad and Andy could screw the panel in place. Here is the first panel installed.


We skipped the location of the second sheet because it required working around a vent in the ceiling and moved on to the third panel.  We got it in the house, on the lift, adhesive applied, and raised in place.  Then we discovered that one of the rafters was not square and there was no place to attach the drywall. 

 We lowered the panel which created these crazy stalactites of adhesive (bet you never thought I'd use the word stalactite on this blog).

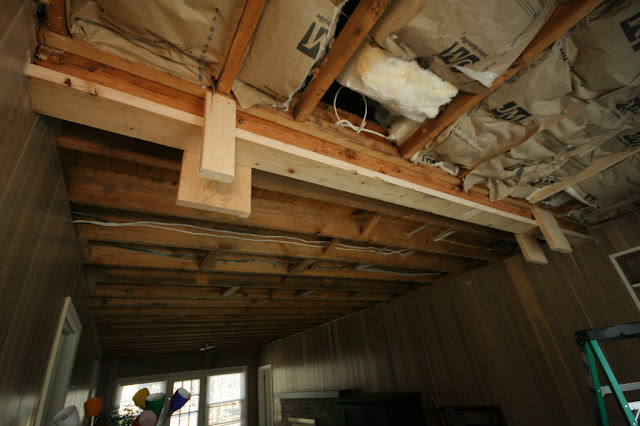
 Then my dad and Andy place a new nailer board so that the panel would attach properly.

 The pile was dwindling, but this was slow work.  My mom and I measured and cut the next panel while my dad and Andy attached the previous one.

The final full panel in place almost 8 hours later.

 Lowering the drywall lift.

 And it stayed in place.  Huge thanks to RZ for letting us borrow the drywall lift.  This job would have been IMPOSSIBLE without it.  It makes my arms hurt just looking at it.

 The process took a lot of furniture relocation as the area between the backdoor and the entrance to the kitchen (left side of the picture) was the only way to get the entire sheet inside and rotated to lay flat on the lift.  The family room looks brighter already (and not just because of the blown-out photo below)!

Sunday, January 22, 2012

Final Preparation for Drywall

On Thursday we had a load of drywall delivered to the house and placed in the garage, but before we could hang it there were a few odds and ends that we needed to take care of.  One of them was this beam in the family room.  There is a load bearing beam near the front of the room that supports the master bedroom wall above.  The beam was hacked at by the previous owner to make room to fit the lovely styrafoam beam around it.  With some of the lower beam removed there was no good way to attach the new drywall.  Andy screwed in the temporary side pieces as a way to center and support the new 2x6 that we attached to create a place to attach the drywall.  


With the 2x6 in place we had a nice square beam to attach drywall to.


We also had to finish installing the rest of the insulation along the exterior wall between the family room and garage.

Upstairs in the master bathroom we wanted to get the backer board in place around the bathtub so that we new the exact dimension of the new drywall.  First, Andy installed the plastic barrier.

And then he attached the backer board.

I don't have a good final picture because there are still a few pieces left to install, but we got enough in place for the drywall.

With those things done we were ready to hang drywall (it took us almost 3 whole days to hang the drywall this weekend, but it's just about done -- more pictures to follow soon).

Friday, January 20, 2012

A Dirty Little Secret

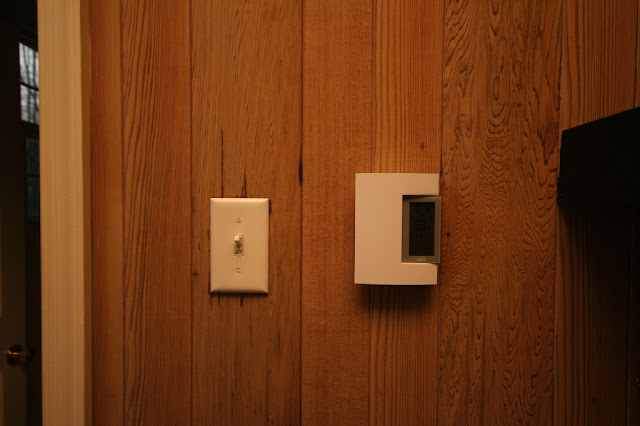
Our house has three zones for heating which means we have three thermostats.  The three zones are great, but I find that I turn one up during the day or the other one down at night and then forget the change them before I leave the house or go to bed.  The two thermostats downstairs were the old analog style thermostats and they are not very accurate.  This is the one in the family room.

We replaced these thermostats with digital models that we can set up to change automatically.  This is the new thermostat in the family room.

And this one in the dining room.  But do you see the little green and orange dots just below the gray screen on the right?

One of our house's dirty little secrets.  The previous owner painted over some lovely wallpaper in the dining room.  We knew this when we bought the house and I am honestly glad it was painted because it makes the living space a little more tolerable while we work on bigger projects like the bathroom.  But now I have this little surprise peaking out at me when I look at the thermostat and no paint to paint over it with.   

Tuesday, January 17, 2012

Poop-free Insulation

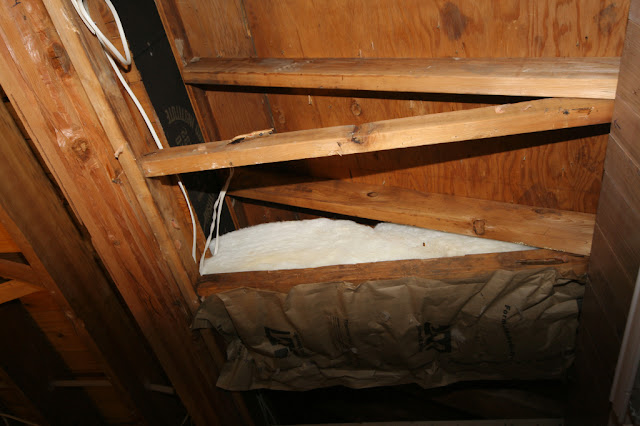
When we took down the family room ceiling we found a small section of insulation that insulates a small attic space where the family room extends beyond the master bedroom above.  This insulation was less than adequate to meet current code and also infested with squirrel poop.  We are sure that the squirrels were not living there in the recent past.  We never heard any noise and some of the acorns and sunflower seeds I vacuumed out of that space were petrified.  Needless to say we were happy to trash this insulation for an upgrade.

The first set of double windows to the right of the door on the first floor are the windows you see in the picture above that are located in the front of the family room.  The overhang between the first and second floor is the area that is insulated.

We were amazed how much thicker the new insulation is!


Now, when I look up I don't get the willies thinking about what used to live up there!

Sunday, January 15, 2012

Prepping the Vanity

We are getting ever so close to hanging all of the drywall, but before we can do that there were a few things that we needed to check.  Because the vanities have drawers on one side the plumbing runs down right beside all of the drawers and there is very little room for error.  We carried all of the cabinets upstairs to check on the plumbing, cut out the backs of the cabinets for the piping, and mounted the electrical boxes for the new vanity lights so that we could make sure they were perfectly centered.


This laser level is awesome and made it easy to check that the center of the vanity and new light will line up perfectly.  

Cutting out the back of the vanity for the piping.

Test mounting to check for level.

Checking the plumbing alignment. 

It was nice to see all of the cabinets in place (even if only temporary).  It just means we are getting closer to a newly finished bathroom .  We even took turns fake brushing our teeth at our new sinks!