Tuesday, June 26, 2012

New Outlets and a Hidden Surprise

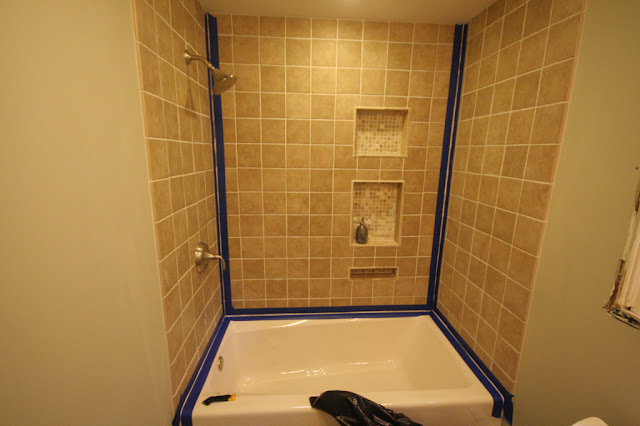
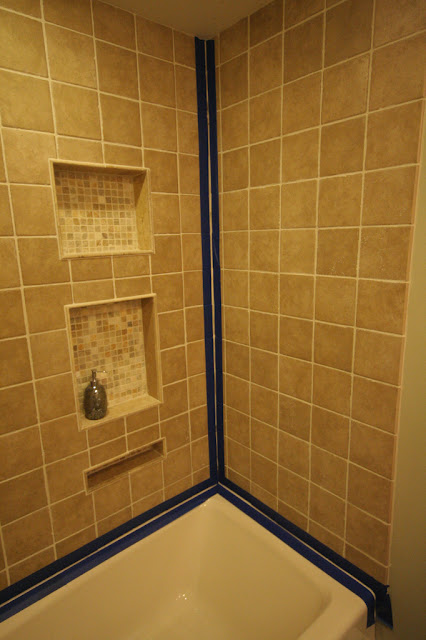
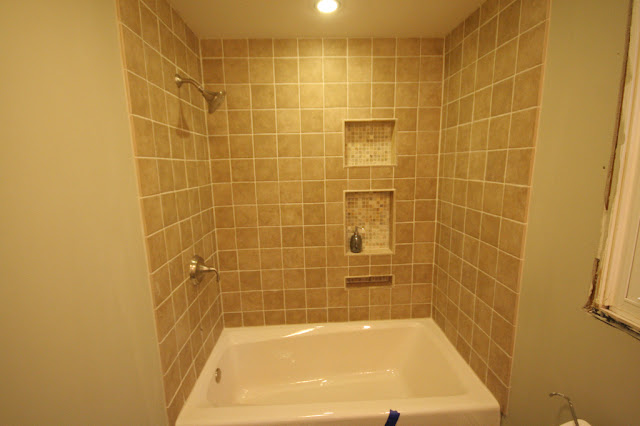
When Andy did the electric work for the bathroom he installed wiring for three outlets: one behind each vanity and one in the linen closet so that we could leave my hairdryer and his shaver plugged in but not out on the counter.  We wanted the outlets behind the vanities to be horizontal instead of vertical and it was easier to place them after the drywall was done and vanities were in place so we could get them exactly where we wanted them.

Cutting a hole in the new wall!

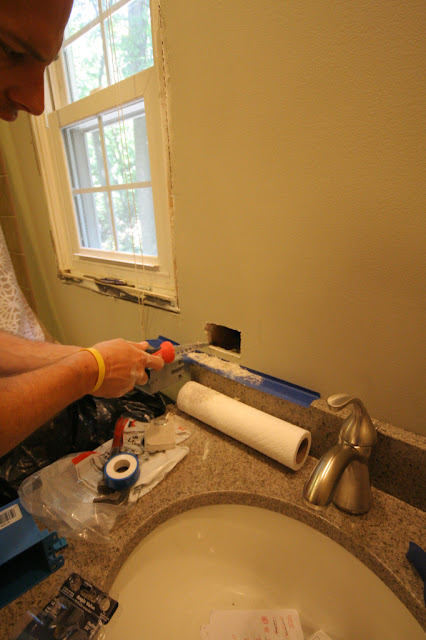
Searching for and locating the new wiring.
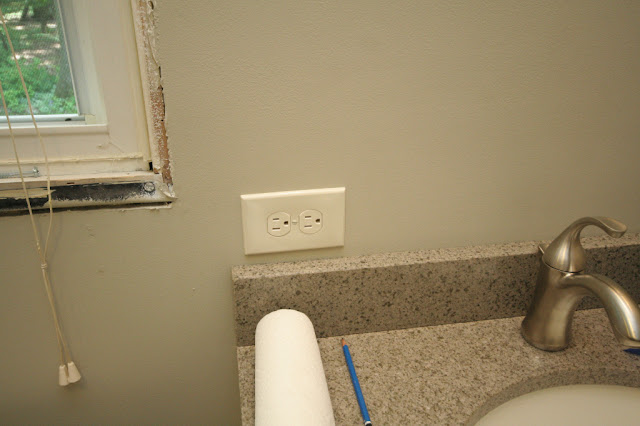
Ready to go!

I guess this is Andy's challenge to the Manning family.  Diagonal screw alignment?  Anyone? Anyone? (Bueller? Bueller?)

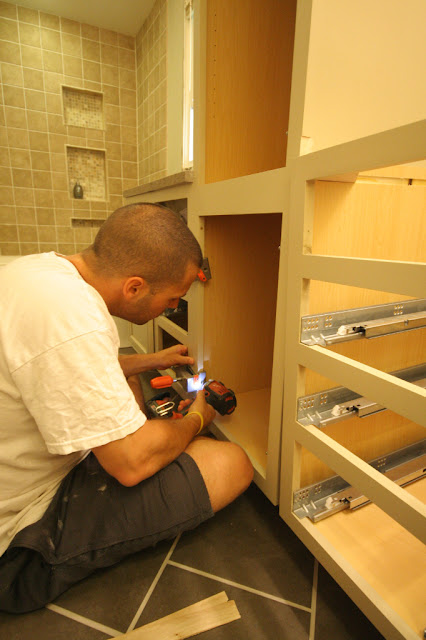
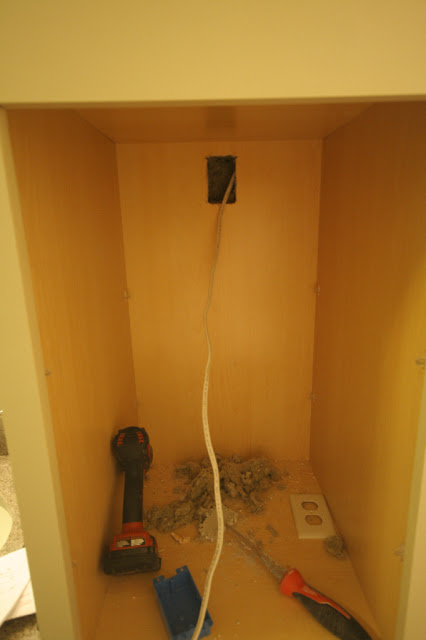
After we figured out where we wanted the new outlet in the cabinet Andy drilled holes around the permitter of the new location.  (I'm so glad he's comfortable cutting into our brand new cabinets!)

Found the new wiring and pulled it into the cabinet.

All set and ready for shelves.  We are using the bathroom and the new outlet in the linen cabinet is great!  Unfortunately, we had a hard drive crash so I'll have to put the finished picture in another post.  The good new is that once the new drive arrives we should be able to recover most of our data from the busted drive and our backup. 

Wednesday, June 20, 2012

It Took You How Long?

Remember when our laundry room cabinets looked like this? I started the painting process way back in February (that's embarrassing to even admit!).


Well, after 3-4 coats of paint on the fronts, then and little sanding, 3-4 coats of paint on the backs, and another 3-4 coats of paint on the edges they were finally ready to be hung.  (I think that whole process took about 2 months because it was a real hassle.  Each coat only took a few minutes, but the trouble came from not being able to do them all at once and then having to clean the paint sprayer each time. We also hit some cold weather that kept me from painting in the garage for a few weeks.)

After they were all painted and dry we realized that we had a problem with the hardware.  I think these cabinets were built by the previous homeowner and he tended to use whatever he had around the house which meant that we ended up with different size door hinges.  We talked about re-routing and puttying some of the hinge locations to keep them all them same but decided against the extra time and effort.  

After a lengthly search few new hardware in satin nickel instead of brass we were ready to hang the doors.


Much better!! Now I can work on painting the walls!


This is the picture that best shows the different hinge sizes.  The one of the left is a standard door hinge and the one of the right is a about 1/2" shorter.


Monday, June 18, 2012

Clamps Required

After we got all of the cabinets upstairs we realized that we needed a little assistance getting them all set, attached to the wall, and level.  We checked the floors and walls for level several times during the renovation, but the length and height of the vanity really highlighted some of the imperfections of our older home. Enter Kyle Wise and his amazing cabinet clamps.  These magical inventions allowed us to clamp all of the cabinets together and attach them to each other with screws.

While the cabinets were clamped together Andy was able to mark and repair one of our cabinet flaws.  The area below with the red pencil highlights the gap between the vanity top and the linen cabinet.  This gap was the reason Home Depot reordered the linen cabinet 3 times and would have ordered it a 4th time if we hadn't asked some more questions.  

This may seem minor, but we made sure to ask when we ordered the cabinets that the edge of the linen cabinet would be completely flush so that the vanity top would be completely flush with the side of the cabinet.  The order was for a flush side, but apparently this 1/8" offset is what the manufacturer considers flush.


Andy was able to practice on one of the reordered cabinets we have leftover in the basement and he created a jig to use with his router to remove a portion of the cabinet so that the vanity top would be flush with the cabinet.


Before Andy screwed the cabinets together he installed this EZ level system on the bottom of each cabinet instead of using shims.


Each system is installed to the side of cabinet and has a separate leveling system for the front and back of the cabinet so that you can level each corner independently.

With the linen cabinet routed and the leveling system installed it was time to attach the cabinets to each other and attach the whole system to the wall.


Nice and level! Andy glued the counter tops to the cabinets, installed the backsplashes and connected all of the plumbing so the sinks are fully functional.

With the overhang on the linen cabinet removed the vanity tops fit perfectly flush with the cabinet.

And the last critical element for the vanity was installing the knobs.


Sunday, June 17, 2012

Fully Functional

I'm behind on my blog updates.  Hopefully I'll get up-to-speed this week.  

Two weeks ago we had a full weekend at home and were able to get the new master bathroom fully functional.  Andy prepared the tub and tile for caulk.


We picked a slightly darker grout so we didn't want white or almond caulk because it would have been too light.  Andy put the silicone caulk in a ziploc bag.

Added some dry grout and mixed until it matched the grout.

Then he cut off the tip of the bag an applied the caulk.

Almost ready.  Once the caulk was dry I was able to scrub the tub and tile to get it ready to be sealed.

Nice match!

Then I applied three coats of grout sealer.  It had to dry for 24 hours but was ready the next evening for Andy's first shower in the new bathroom.