After the priming was complete we had a few small spots bleed through. We knew this was a possibility from all of the research I had done on what type of primer to use. We used a latex primer that I had tested on a few spots without any problems so we picked the latex primer over an oil based primer that would have guaranteed no bleed-through. We had also picked a darker color for the walls so we felt confident that we wouldn't have any problems.

The walls took two coats of paint. We had to paint all of the cracks again on the first coat, but not the second.


Here it is all put back together (with a sneak peak of the new fireplace).


We even got to hang some new art that we picked up on our recent ski vacation.

And a picture of Hawk Eagle Wilson (the bomb dog) thanks to a gift card from MCM and HGM.

The furniture and furniture placement is a work in progress but it's a long way from this.
BEFORE

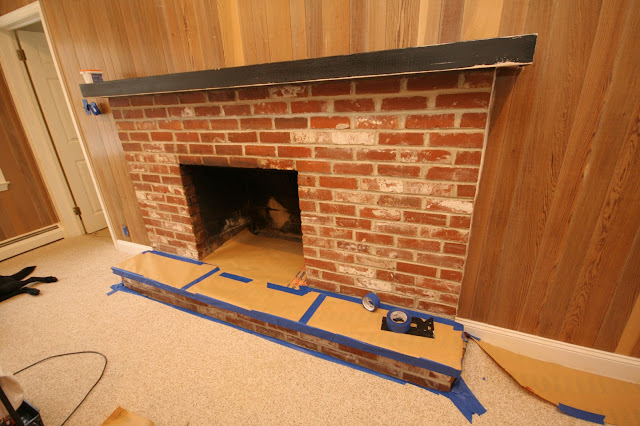
PROGRESS!